The earliest ice creams and snow cones were made with real snow, not machines! Make these treats this winter with your kids and create lifetime memories.
Enjoy the Outdoor Life Team member, Anne shares her childhood memories of making snow foods and sharing those traditions with her kids, as well as tips and recipes for making snow cones, snow cream and snow sorbet from real snow.

“It snowed last year too: I made a snowman and my brother knocked it down and I knocked my brother down and then we had tea.”
- Dylan Thomas, A Child's Christmas in Wales -
That Dylan Thomas quote reminds me of how things were with my brother growing up.
There were times when we were the "worst enemies" and others when we were inseparable. Winter was usually more of the latter...
I remember a year when I was probably around 10 or 11 that our well froze. Because of all the snow — there was over three feet of it — it couldn't be fixed right away, and we went at least two weeks without running water. What my parents were able to do though, is bring in pots of snow and melt it for cooking.
This is also when my brother and I started to get "creative" with other things that we could do with the snow, that didn't involve melting it.
One of our favorite things to do was make a snow fort, and that year we certainly had plenty of the white stuff to do it on a grand scale. Other kids from the neighborhood joined in, and we set out to build a "snow mansion" complete with different rooms and hallways between them. And of course, we built a magnificent "snow kitchen" complete with dishes and silverware we ransacked from the house. [Oh, how I wish my parents had taken a picture, but alas, this was long before the days of smart phones and digital cameras.]
The first foods we "prepared" were pure imagination — just plain snow and pretending it was something else — but then...
I think it was my friend Tammy who got us going, sprinkling Pop Rocks on top of a bowl of snow (oh, my, were they the craze when we were kids in the 70's). We laughed when the colorful pieces of candy started popping all over the place as they made contact with the wet snow. It became a race to stir it in, and start eating it so we could hear that wonderful popping sound in our mouths.
They didn't have this flavor when I was a kid...
And then it was on!
My brother was a huge Yoo-Hoo fan, and that became our first bowl of yummy, chocolate ice cream. My first creation used Tang poured over the top to make a bright orange snow cone. Delicious! [Confession: In the 70’s we REALLY believed that the astronauts drank Tang in space, and even though I didn’t have a big sweet tooth as a kid, I would eat the dry mix by the spoonful. I almost cringe thinking about that now.]
For two weeks, the tedious task of walking to and from our neighbor's house carrying jugs of water wasn't so bad because we knew that as soon as the chore was finished, we were free to go and play. My brother, friends and I took turns creating new "recipes" with drinks and candies that we had on hand.
This is one of those childhood memories that I will never forget.
Decades later, when I had my own children, you can be sure I shared the story — and the fun with them. For a good part of their lives I was a single mother, so funds were tight, but making sweet treats and playing in the snow were cheap and fun things to do when school was out for holidays or bad weather.
My boys are both grown now, but I can still remember their smiles of joy, as they tasted their delicious creations, each adding their own favorite twist.
For my oldest, it was usually a Gatorade snow cone, but the younger preferred chocolate snow ice cream made with Hershey’s syrup and milk. I like to think that these times will be memories that they cherish too, and a tradition they will share when they have children of their own!
I hope you enjoy the recipes for making your own sweet treats that I am going to share.
But my real wish is that through the ideas for creating tasty foods with snow, you create some cherished memories with your kids — and perhaps reminisce back to your own childhood along the way.
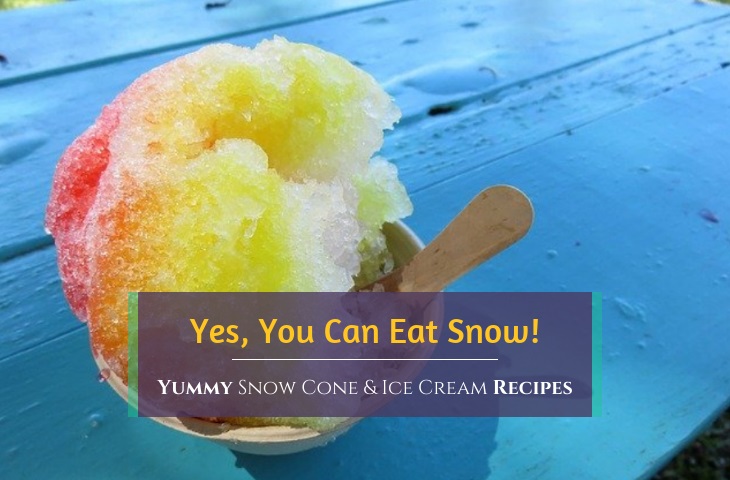

Is it Safe to Eat Snow?
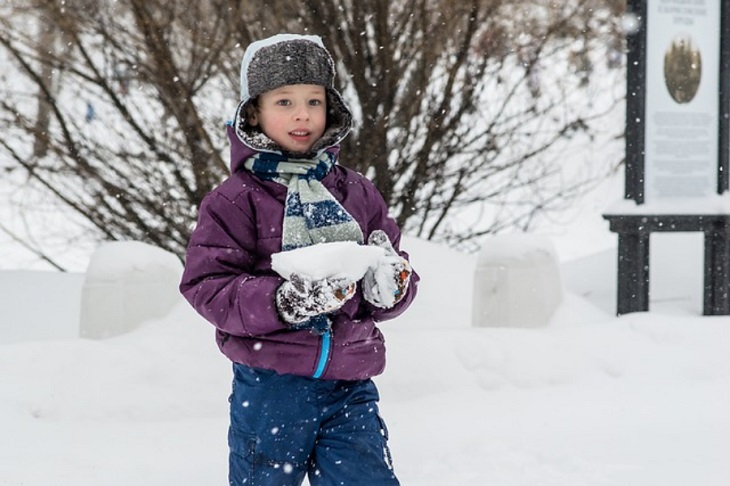
There's something magical about chomping into snow — and most researchers agree it's okay to eat snow.
Before you read any further, do me a favor, please.
Stop and check your pulse. You're alive right? Did you eat snow as a kid?
Unless you have always lived somewhere that never got ANY snow, I bet you did! We also broke off icicles and pretended they were ice pops (that's one I wouldn't recommend any more, knowing better as an adult).
Catching snowflakes on our tongues and biting into a snowball are like rights of passage in childhood, and among the most common winter activities for kids. And our parents never thought twice about telling us not to. Because of course they did it too.
But times have changed, so before I set down to writing this post, I needed to know:
Is it okay to eat snow? Or is eating snow dangerous?
Before I shared recipes whose main ingredient is that wonderful white frozen water from the sky, I wanted to make sure that I wasn't "poisoning" my readers. Here's what I found.
As snow (and rain) fall from the atmosphere, they pass through the air, picking up particles along the way. This includes dust, pollution, vehicle exhaust and potentially airborne chemicals — the same stuff that's in the air we breathe, but it also brings down stuff from higher altitudes and concentrates it. Did you ever notice how much fresher or cleaner it smells after a rain or snow fall? It's nature's way of cleaning the air.
This may sound like that means that you should not eat snow — well, yes and no.
According to researchers, in most areas the levels of contaminants were 100 times less than what is considered safe levels for drinking water. As you would expect, urban areas had higher levels of contaminants than rural areas. In those areas, scientists advise waiting for a few hours before collecting snow for eating, and then taking the snow from the top layers.
But what about all the stuff being said about bacteria in snow?
If you have read any of the articles about kids getting sick from eating snow, in most of those few cases, it was because they ate snow that had been sitting around for a few days. By the second day, snow on the ground starts to collect bacteria. While your child chomping on a bite or two here and there is not likely to hurt (most immune systems are strong enough to fight off those bacteria), you don't want to use day-old snow for making snow cones and snow ice cream.
By the way, we all know not to eat "yellow" snow, but if snow looks pink or rosy, that's a sign that algae has started to form.
So, when is it safe to eat snow?
Choosing the right snow to eat for the most part is a lot of common sense, but here are the general guidelines for when it's okay to eat snow:
- When the snow has been falling for a few hours, especially in more urban areas
- When the snow has only been on the ground for a day
- When the snow is free from animal or human tracks
- When it comes from areas far removed from where icing salt has been used
- And most of all, when it's pure white
The bottom line — while there are a some extremists who say it's never good to eat snow, the majority of scientists agree it's safe to eat snow, and just like with everything in life, it's all about moderation.
If you live in an area with high pollution levels, have a child with an at-risk immune system, or want to try any of these recipes in the summer, you can always make your own "mock snow" with ice and a high powered blender or an ice shaving machine.

Can You Make Snow Cones (and Other Desserts) with Real Snow?
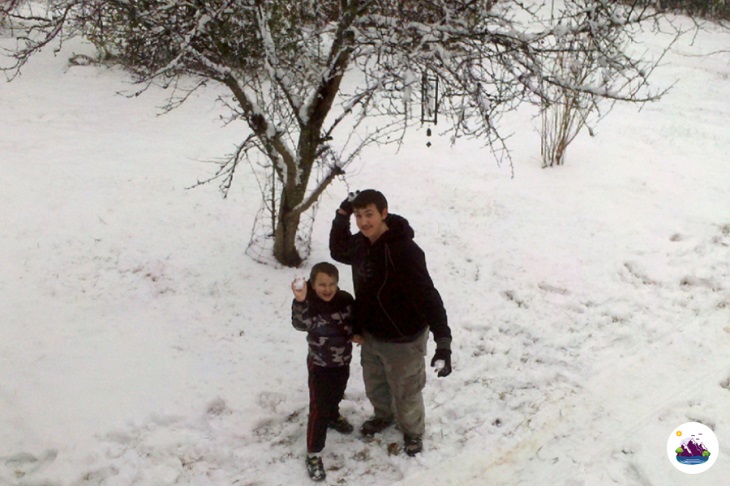
Oh, the memories! Needless to say, we gathered clean snow for eating before they took over the yard.
Yes, you can!
There are many ways to make snow cones with real snow (as well as snow ice cream and snow sorbet), and most versions can be made with things you probably have on hand.
The snow cones will come out just like the real thing and while the snow sorbet and ice cream will have a bit of a different texture, they are still YUMMY! Your kids will have a blast making them and none of the recipes requires a machine, which is even better.
When you think about it, snow cones are just shaved ice, so of course you can use real snow!
Step 1 - Gather the Snow of Course!
Well you're still here, so I guess that means you are like me and many other parents who have decided that eating snow is not going to kill your child or make them sick. As long as you follow the main guidelines above, and are collecting clean snow that is.
Here's a few other things to keep in mind when making winter snow desserts.
- I like to collect snow from areas where it has piled into a mound, and is up off the ground. Good spots are picnic tables, outdoor furniture, along deck railings, or areas away from foot traffic.
- If it has stopped snowing for a bit, brush away the top layer, and don't go too deep either. Your goal is to get the cleanest snow from the middle.
- If it's a windy day and/or a day that's warming up quickly and you won't be making your treats for a while, it's a good idea to collect the snow early and set it aside, covered, in the shade (or in the freezer). This will avoid wind-blown contaminants.
Step 2 - Decide Which Treat to Make First
Before we get to the recipes, I have another confession (or two) to make.
First, I absolutely love reading and looking at recipes. Before the days of the internet, I collected cookbooks, especially ones with lots of colored pictures and would pour through them for ideas. Now, with so many food blogs and videos, I can get lost for hours at a time pondering through all that is out there.
I am also addicted to watching cooking shows — especially ones like Guys Grocery Games, Master Chef, Next Food Network Star, Top Chef, and Chopped. I am always fascinated with how these cooks and chefs can take random foods, and turn them into something wonderfully delicious, with no set plan in advance. Growing up, my mother was a master at this — turning leftovers and whatever she could find in the cupboards and fridge into a sumptuous meal.
Which brings me to my next confession...
I am AWFUL at following recipes. Or, perhaps it's better to say that I'm not very good at planning ahead to go out and buy the exact ingredients needed to follow a recipe to the T. When I am in the mood to make something, I don't want to wait, so I follow the guidelines and techniques from recipes, and wing it.
Call me the Queen of Improvising.
I like to think I am channeling my mother's spirit when I am cooking and creating in the kitchen. To this day, I believe the only recipe I follow exactly is for baked custard. And that's because I always have the ingredients on hand (eggs, milk, sugar and vanilla) and it's super simple.
It comes from my very first cookbook, The Joy of Cooking — a true classic, originally published in 1931, and recently updated in 2019.

“Cooking shouldn’t just be about making a delicious dish—owning the process and enjoying the experience ought to be just as important as the meal itself. The new Joy of Cooking is a reminder that nothing can compare to gathering around the table for a home cooked meal with the people who matter most.”
- Joanna Gaines, author of Magnolia Table -
So, if you came to this post looking for exact recipes, that's not what you are going to find here (although I do share some links to others who provide specific measurements). Instead, you will find guidelines and ideas to inspire you.
Pick and choose the ones you like, dismiss the ones you don't, and add your own favorites.
Remember, in the end, this is all about enjoying time with your family, and having fun — the yummy treats are just an added bonus!

How to Make Real Snow, Snow Cones
Snow cones are simply shaved or crushed ice with a sugary syrup poured over them, so it really shouldn't come as a surprise that you can make them from real snow.
And when making snow cones, you don't have to be as "picky" about the type of snow. They will work just as well with snow that is light and fluffy, as they will with wet or icy snow.
Video: How to Make Homemade Snow Cones with Kool Aid Syrup
Kool Aid Snow Cones | Courtesy of FunFoods
The only "surprise" may be the multitude of ways you can flavor your snow cones — whether you using winter snow, or making traditional snow cones from ice.
Option 1 - Use Pre-Made Snow Cone Syrup
Did you make snow cones over the summer and have some of that bottled syrup left? If so, you're ready to go. Just scoop up the snow, put it in a cup, and pour on the syrup. For more "grown up" taste buds, try using some of those flavored coffee syrups you have in your closet.
If you don't have any flavored syrups on hand, with online shopping, you can place an order and have it delivered to your door in as little in a day — just in time for the next snow fall.
Option 2 - Use Fruits, Juices or Powdered Drink Mixes
Most recipes for home made snow cones, like the one in the video above, call for making an extremely sweet syrup, which requires some cooking in advance. This is something you could do well ahead of time, or since they don't take long to make, you could whip up some snow cone syrup while the family is out clearing away the snow.
But, truthfully you could use any type of sweet liquid, but to avoid a watered down taste, you want the flavor to be concentrated — and that doesn't have to mean adding more sugar. My personal favorites are using fresh juices and even fruits (recipe for this is below in the snow sorbet section) to make snow cones that are actually nutritious!
Here a few ideas for home made snow cone syrups to get you started:
- Frozen juice concentrate mixed with water: a good ratio is 2 parts concentrate to 1 part water, but you can add as much or as little as you want to get to your desired level of sweetness.
- Powdered drink mixes (jello mix also works): use about half as much water as the package calls for (or adjust to your taste). Tip for dissolving the mix faster - start with a little bit of hot water. Once the sugar is dissolved, add cold water or ice cubes Optionally, if you want an actual "syrup" you could simmer gently on the stove for a few minutes.
- Any flavor of juice you have on hand: use as is for a less sweet version, or you can add a little bit of sugar, agave or honey. You can also simmer the juice gently over medium heat to reduce — the more you simmer, the more concentrated the flavor will be. Reducing by half works well if you want it the level of sweetness that is similar to traditional snow cone syrups, but as always, you can adjust this to taste.
- Pancake syrup (maple, blueberry, strawberry, or whatever you have): use as is, or for a less sweet snow cone you can mix with a little bit of water.
- Flavored sodas: these are usually sweet enough as is, but you could gently simmer for a few minutes to get a more concentrated and syrupy consistency. You'll lose the "fun" bubbles this way though. Some recipes actually call for adding more sugar, but that's up to you.
OPTIONAL: For lighter colored liquids, you could add a few drops of food coloring for that traditionally bright snow cone look.
You want your liquids to be as cold as possible to avoid melting the snow too fast. So if you are using one of the reduction methods, you will need to chill before using.
Now comes the fun part!
Simply pour over your fresh snow and it's ready to eat.
If you are making more than one flavor and want to create a more special event, transfer the juice/syrups to plastic squeeze bottles.
If you don't have snow cone cups, they can be served in paper or plastic cups if you are outside (or want easy clean up). Or use coffee cups or mugs — you want something with a handle to keep those little hands warm. For something fancy, use glass dessert dishes or martini glasses!
You could also use these super cute reusable, plastic snow cone cups!

Homemade Slushies with Real Snow
Right now, you might be asking yourself, what happens if I add too much syrup? No worries! If that happens, just stir it around with a spoon and grab a straw.
You've just created your own snow slushy! Who needs a store-bought Slurpie, when you can make your own? Yes, you can make a slushy with ice and a blender any time of the year, but with snow it's super easy — just add your favorite drink and stir.
Any of the above liquids, as well as the recipes below for snow ice cream and snow sorbet can be converted into a backyard slushee or mock milk shake by increasing the liquid to snow ratio.
Have fun with it!
Pssst...
For the adults only, I bet real snow strawberry daiquiris or pina colada would taste fantastic and would be a fun way to bring some childhood memories to your next grown up holiday party.
Frozen Lemonade and Strawberry Slushy Recipe
I absolutely love Sonic's frozen lemonade with fresh strawberries — so much so that any time I drive by one I grab a super-sized, Route 66 to go (especially if it's half price happy hour!).
This past summer, I figured out a way to make them on my own, using Country Time Pink Lemonade, frozen strawberries and ice. It's super easy.
Confession time — again. I don't have an exact recipe, but here's the steps I follow:
- Put about half a cup of hot water and about half a cup of sweetened lemonade mix into the blender. Blend until the sugar crystals are dissolved.
- Add about 2 cups of frozen strawberries and about 1 cup of ice.
- Blend on high speed, adding a little bit of cold water at a time, as needed until you get that classic frozen drink/slushie consistency
- Taste. Too sweet? Add either more ice or more strawberries. Not sweet enough or want it more lemony? Add more lemonade mix.
This winter, I can't wait to try this recipe with snow instead of ice! I bet it will be even better and more like a "real" slushie.
NOTE: You could use fresh strawberries, but I have found frozen tastes better because you need less ice to create the slushy consistency. I've also done this with frozen raspberries and blueberries.

Homemade Snow Ice Cream Recipes
Video: Old fashioned recipe for making snow ice cream with milk.
Tutorial: How to Make Snow Ice Cream | Courtesy of Tawra from Living On A Dime
Update: OOPS!!
While doing some tweaks to the formatting on this page, I accidentally deleted this entire section of recipes, including dairy free ones. Apologies! Will get it back ASAP.
Want to be notified when it's up?
Send me an email and I will personally let you know!

Real Snow, Real Fruit Snow "Sorbet"
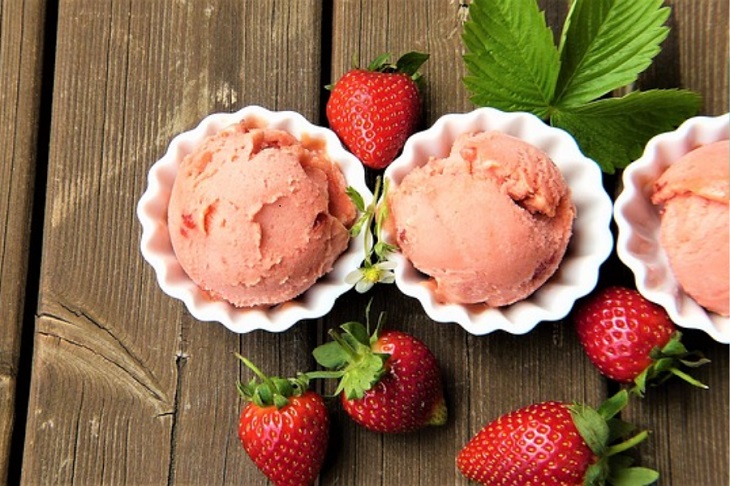
Okay, so I "borrowed" this stock photo for now — next winter I will get pictures!
This recipe is great because most of the flavor comes from the natural sweetness of fruit and it's jam packed (pun intended) with nutrients.
Since it's winter, you'll probably be using frozen fruits, but if you have fresh fruit on hand, go for it! You can also use canned fruits.
Fruits that work great are blueberries, raspberries, strawberries, peaches and pineapple — basically anything with a high amount of water in it. Oranges will also work, but you either want to use canned/jarred mandarins, or for fresh you will want to get as much of the membrane off and/or put it through a strainer. Or just use juice or frozen concentrate. The same goes for lemons.
NOTE: Because of their consistency, bananas don't work as well for snow cones or snow sorbets, but they could be mixed with cream, sweetened condensed milk or coconut milk for snow ice cream.
This is the blender I use, but any high speed one will do.
If you used frozen fruit, your mixture is ready to use. For fresh fruit, you need to chill before using. Or throw in a little bit of snow (or ice) into the blender to chill it quicker.
Now stir your fruit mixture gently into your snow. Just like with snow ice cream, you will want to stir for a few minutes until blended and you have something that looks like sorbet.
If your went with a more "liquidy" mixture, you could just pour it over the top and enjoy "snow cone" style or turn it into a slushy!
OPTIONAL: If you want a sweeter fruit puree, you can either add some honey, agave or other sweetener. For sugar, because it doesn't melt well with cold liquids, mix it with some hot water first to dissolve (unless you have sugar syrup on hand).
Option 2 - Compote Style Preparation (Cooked)
This method requires a bit more time because you will be making your own homemade fruit mixture, but it's still easy. Since this is a cooked recipe, fresh apples and pears work great, in addition to all the the other fruits.
Video: Recipe for making fruit compote with frozen berries and honey
Berry Compote Pancake Topping Recipe | Courtesy of Katie Pix
Take your desired fruit and put it in a sauce pan with a little bit of water and your desired sweetener. The amount of water and sweetener will depend on the fruit you use and how sweet you want it to be.
For sugar, a general guideline is 1 cup fruit, 1/3 cup water and 1/3 to 1/2 cup sugar — depending upon how sweet you want it to be.
You may also want to add a teaspoon of lemon juice for a contrast to the sweetness.
Bring to a boil on medium heat, then reduce heat so it gently simmers and thickens. It should take about 5 minutes. While it is simmering you want to stir occasionally so it doesn't stick and to mash up the fruits a bit so they break down.
Want smaller pieces of fruit? Use a potato masher or immersion blender. Or you could put it into a blender or food processor if you want a thinner consistency (just be sure to leave the lid open slightly to release steam).
NOTE: If you want to make syrup, without any pieces of fruit, strain with a fine mesh strainer to remove all the pulp and any seeds. This consistency is great for snow cones.
This mixture will need to be chilled before using. If it becomes too thick to pour, just stir in a little bit of water or apple juice if you have it.
Once it's cold, stir into your snow until you have that perfect consistency.
If you are the kind of person who feels more comfortable with an exact recipe for making compote, any one you find online or have in your cook book will work. We're dealing with snow, so it's not an exact science — experiment with your kids and enjoy the process. It's half the fun!
NOTE: Many compote recipes call for adding corn starch to thicken it. In my experience, it's not needed for making snow sorbet but it's up to you.
By the way, you could also use this as a wonderful topping on snow ice cream or on pancakes and waffles.

A Few Final Words...
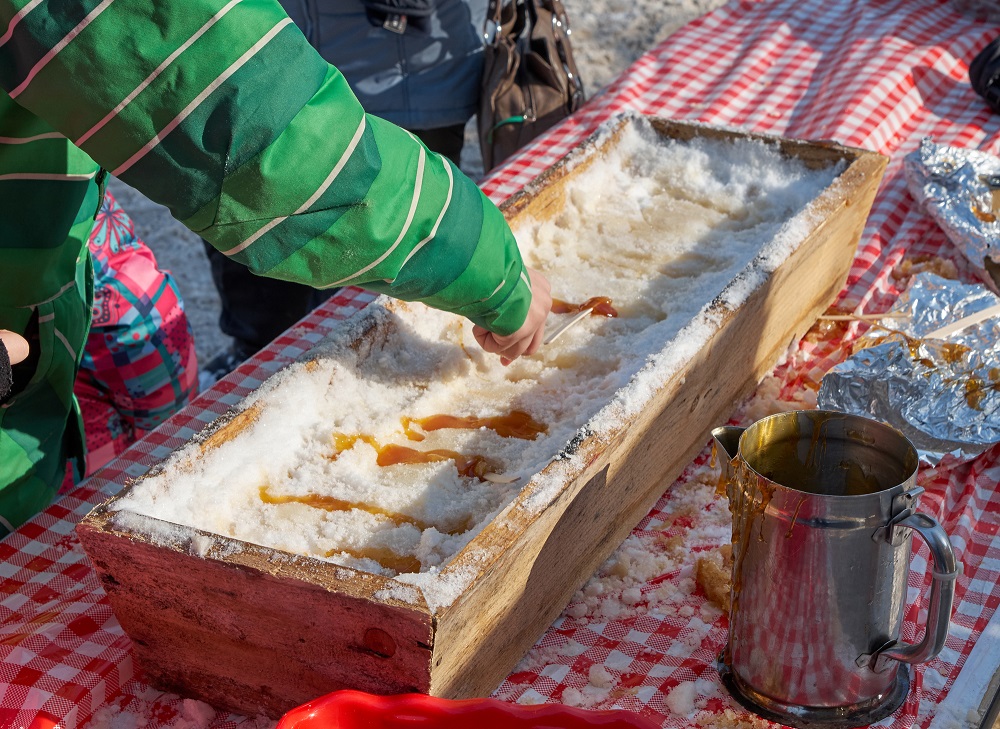
For kids to young to handle pouring the hot sugar, give them the task of adding the sticks.

“Laura and Mary each had a pan, and Pa and Ma showed them how to pour the dark syrup in little streams onto the snow.”
- Laura Ingalls Wilder, Little House in the Big Woods -
I hope you were inspired by all of these ideas!
When I was doing my "extra research" for this post, aka getting lost for hours looking at more things to do with snow, I certainly was.
This winter, I think I am going to check out this recipe for Maple Snow Candy that I just found — reminiscent of Little House on the Prairie.
Growing up, "Little House" was one of my favorite shows and I can't believe I haven't seen this recipe before.
For younger kids, making snow candy requires adult supervision for sure, but the real fun comes from making designs in the snow.
I also came across several recipes for snow pancakes that I want to try.
Apparently, during World War II when eggs were in short supply, some cooks in Britain discovered that using snow instead created pancakes that still had that fluffy texture — as long as you use freshly fallen snow. I did find many recipes that held true to the original, I think this is the one I will be testing out first.
What ideas can you come up with to "eat your way through the winter snow"?

